

Red Tip Blossom
A step-by-step Prismacolor Drawing


This flower sprouted on the trunk of a red tip tree on my driveway. The bright leaves and creamy flower caught my eye in the sunshine. A perfect subject for a drawing, although it took me two sessions to finish it. The shadows are as interesting as the bloom, leaves and bark.

I always sketch out the composition first. One thing I have learned is that a color drawn in heavily, like the white flower above will not be covered by subsequent layers. I wanted to capture the sun and shadow on the tree trunk as well as the highlights on the leaves.
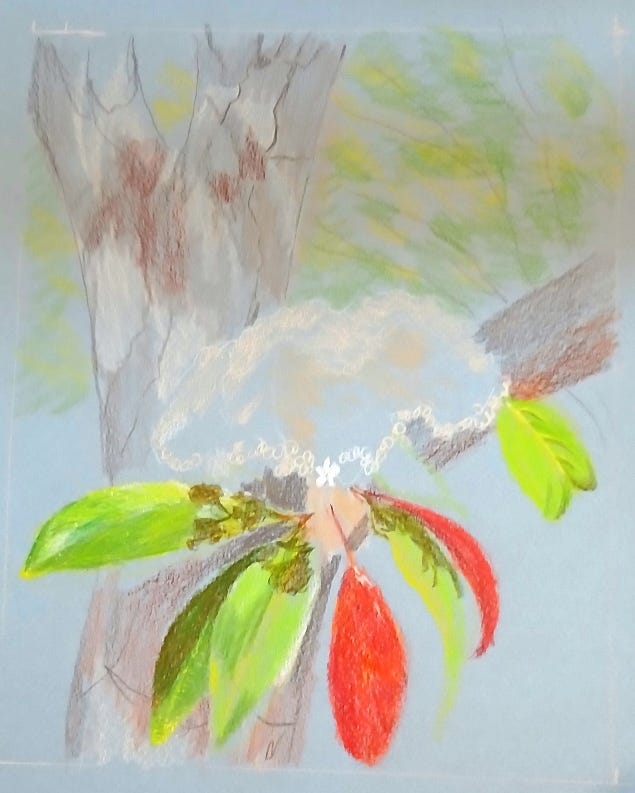
The shadows are as interesting as the shapes itself. I also wanted to capture the golden colors of the creamy flower, so I laid in a bit of yellow ochre under the eggshell cream of the basic flower. I’d add pure white later, but the underlying color would show through. I scribbled in some light green leaves and brown branches in the background.
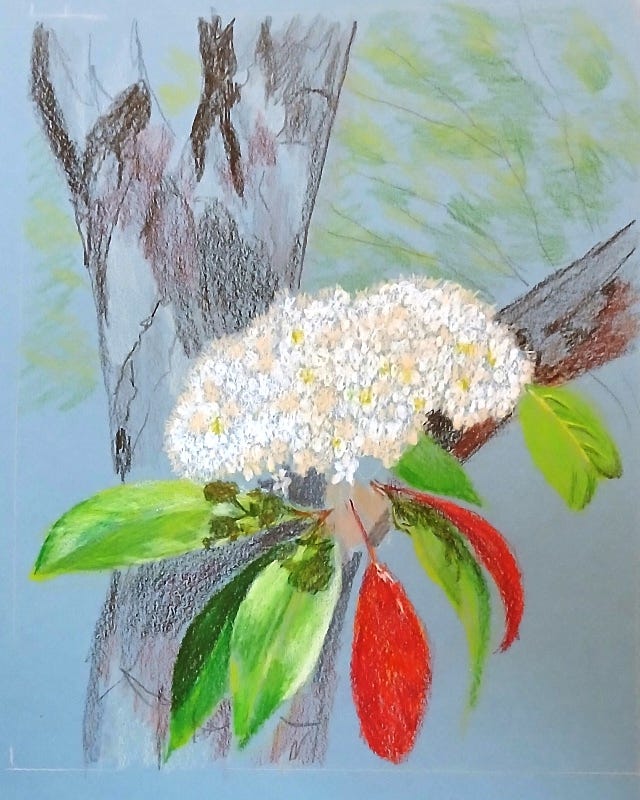
I worked on adding details on the tree bark, both the cracks, shadows, browns and grays. I used white, cream, and yellow ochre to make the bloom shapes and pistils that rise from them. I darkened in the leaves and added detail. This was as far as I got during this two hour session this week.
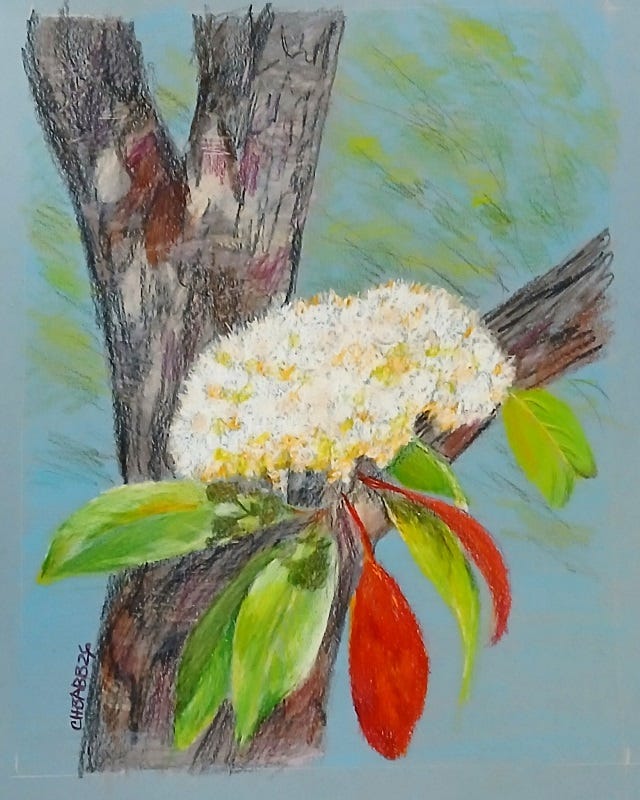
The final drawing colored in the grays and browns of the trunk, smoothing some sections and leaving the paper texture for other part. . I burnished the leaves to make them smoother. I added more white and some orange to the flower to make it stand out from the tree. I also added some bright blue to the dull blue of the paper to make the tree and flower stand out from the background. It only took another half hour to finish this one. It takes a lot longer to work at 8x10 than at 5x7. Prismacolors on Canson blue pastel paper.
This one came out great! I'm especially impressed by the bark, love the detail you got in there. ✨